Updated 5 November 2026

This iOS 27 iPhone guide explains how to set up your device, personalize its screens, protect your account, and use everyday apps. Follow the instructions to get comfortable with calls, messages, email, and organization..
We cover all 32 topics, from buttons and ports to Mail, Messages, Notes, and Calendar. You will also learn how to personalise your screens, organise apps, connect to the internet, and prepare Find My before a device goes missing.
A naming note: iOS 27 is the software version, rather than an “iPhone 27” model name. Apple’s current documentation includes iPhone Duo, whose folding display and Touch ID mean some instructions differ from those for other iPhones. Features, menu labels, and availability vary by model, account, language, and region. The original illustrations in this guide explain the tasks; they are not screenshots of the iOS interface.
Apple’s iPhone User Guide and iPhone Duo announcement provide the model and software references for this article.
Explore this iOS 27 iPhone guide
- Buttons and Ports: What Is Where
- Action Button: A Shortcut on Supported iPhones
- iPhone Duo: Unfold Apple’s Latest Device
- The Touchscreen: It’s All at Your Fingertips
- Your Apple Account: Your Key to Everything
- Using Face ID: Personal Security
- The Home Screen: Your Apple Gateway
- Home Screen Folders: Organisation and Storage Explained
- Lock Screen: Customising Your iPhone
- Getting Online: Unlocking the Internet
- Email Set-Up: Adding Your Accounts
- Phone Calls: Reach Out to the World
- The Keyboard: Interact with All Your Apps
- Control Centre: Access Core Functionality
- Notifications: All Your Updates in One Place
- App Store: Explore a Galaxy of Apps
- AirDrop and Bluetooth: Sharing Files and Connecting Devices
- Update Apps and iOS: Keep Your iPhone Running Well
- Child Safety: Protecting Your Little Ones
- Find My App: Lost Your Device? Start Here
- Set Your Wallpaper and Ringtones
- Mail App: Your Emails in One Convenient Place
- Using Undo Send: Stop an Email Quickly
- Safari App: Your iPhone’s Online Entry Point
- Messages App: Can’t Call? Text Instead
- Voice and Video Messages: Say It in Style
- Recovering Deleted Messages: Get It Back
- FaceTime App: Video Chat Explained
- Reminders App: Don’t Forget Anything
- Notes App: Type, Write, Sketch, and Remember
- Calendar App: Don’t Miss an Important Date
- Contacts App: Your Family and Friends Together
1. iOS 27 iPhone Guide: Buttons and Ports
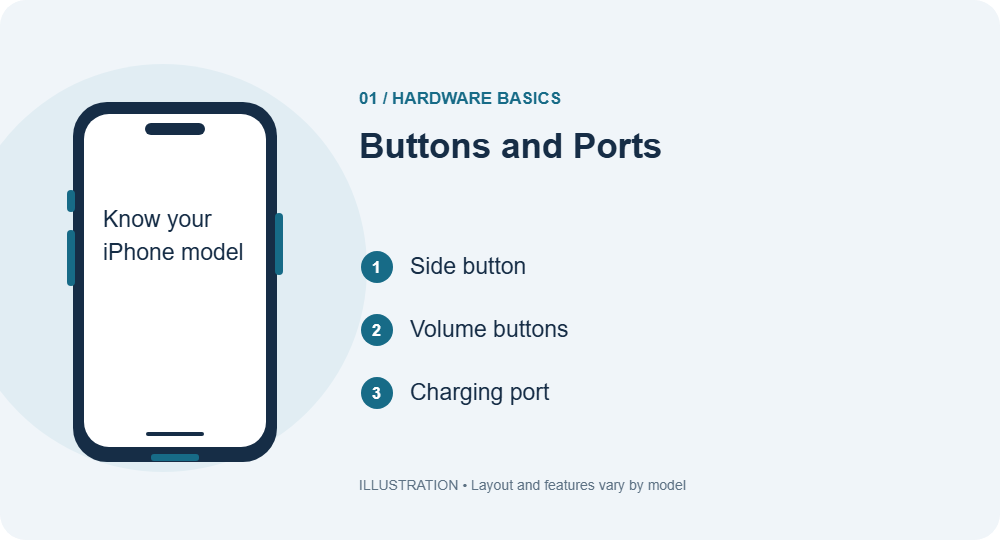
Getting comfortable with an iPhone starts with its physical controls. On many recent models, the side button sits on the right, while the volume buttons sit on the left. An Action button or Ring/Silent switch provides another quick control. Camera Control is available on selected models. The charging connector sits along the bottom edge, beside speaker and microphone openings.
- Check Settings → General → About to identify your model.
- Use the matching model diagram in Apple’s guide to locate each control.
- Use the correct cable: newer models use USB-C; some older supported iPhones use Lightning.
Button placement and available controls vary, particularly on iPhone Duo. Avoid assuming that every small opening is a speaker or that every supported iPhone has a SIM tray.
Apple’s Buttons and Ports instructions · Apple: iPhone model guide
2. Action Button: A Shortcut on Supported iPhones
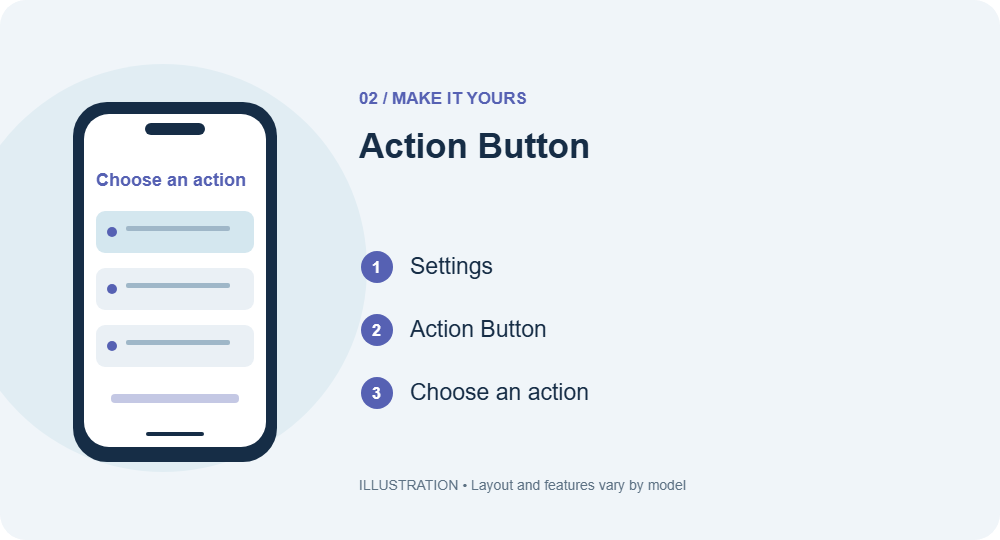
The Action button puts a frequently used feature within easy reach. On supported iPhones, it replaces the traditional Ring/Silent switch. You can assign it to an available action such as Silent Mode, the camera, the torch, a Focus, or a shortcut. The best choice is something you use regularly.
- Open Settings → Action Button.
- Swipe through the available actions and choose one.
- Select any additional option, then press and hold the physical button to try it.
Some actions need a specific shortcut or control selected before they work. If your iPhone has a Ring/Silent switch, it cannot gain an Action button through a software update.
Apple’s Action Button instructions
3. iPhone Duo: Unfold Apple’s Latest Device
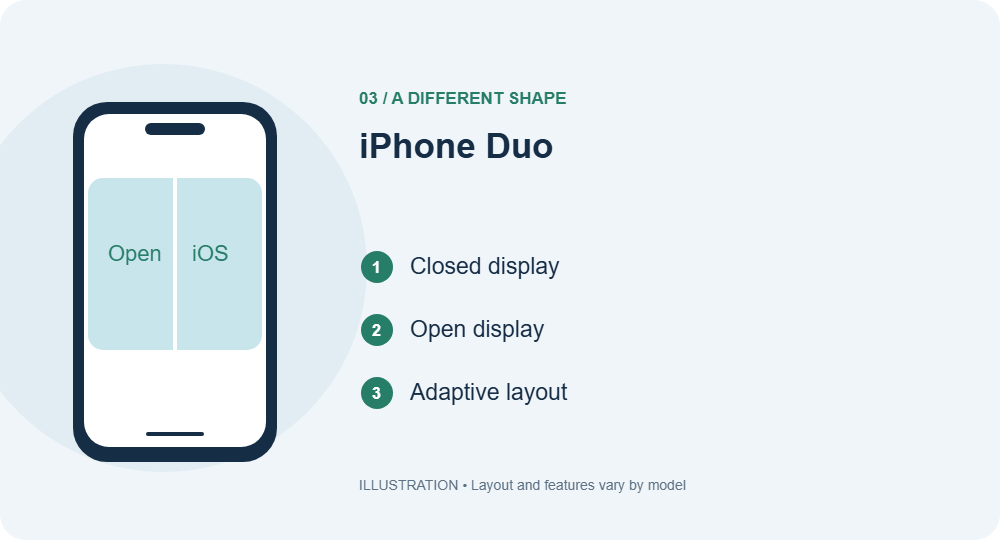
iPhone Duo brings a foldable design to Apple’s iPhone range. Its outer display lets you handle quick tasks while the device is closed; opening it reveals a larger inner display. iOS 27 adapts its layout as the device changes position, so navigation can look different from a conventional iPhone.
- Use the outer display for a quick message or notification check.
- Open the device to explore the larger workspace in supported apps.
- Follow the on-screen controls as apps adapt to the available space.
An important security difference: iPhone Duo uses Touch ID in its side button. The Face ID instructions below apply to iPhones equipped with Face ID. App layouts and supported capabilities can differ by model and software version.
Apple’s iPhone Duo instructions
4. The Touchscreen: It’s All at Your Fingertips
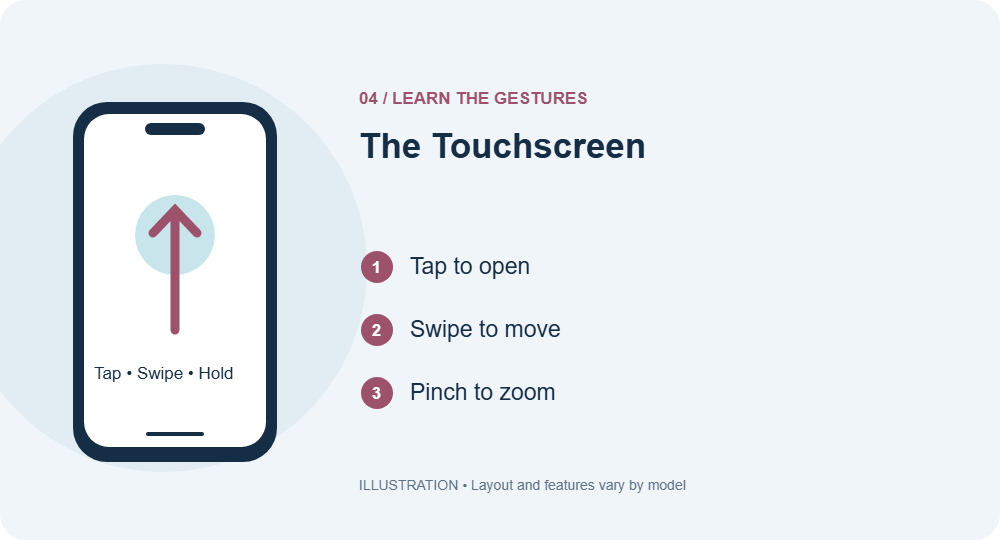
Your touchscreen responds to a small set of gestures that work across many apps. Tap to open something, swipe to move through content, and touch and hold to reveal extra options. Pinching can zoom photos, maps, and supported webpages. Learning these movements makes your iPhone feel much easier to navigate.
- Tap an app icon to open it, then swipe through its content.
- On an iPhone without a Home button, swipe up from the bottom to return Home.
- Swipe up and pause to view recent apps; on Home-button models, double-click Home.
If text or controls are difficult to use, explore Settings → Accessibility. You can adjust display settings and touch behaviour to suit your needs. There is no need to master every gesture on your first day.
Apple’s The Touchscreen instructions
5. iOS 27 iPhone Guide: Apple Account Setup
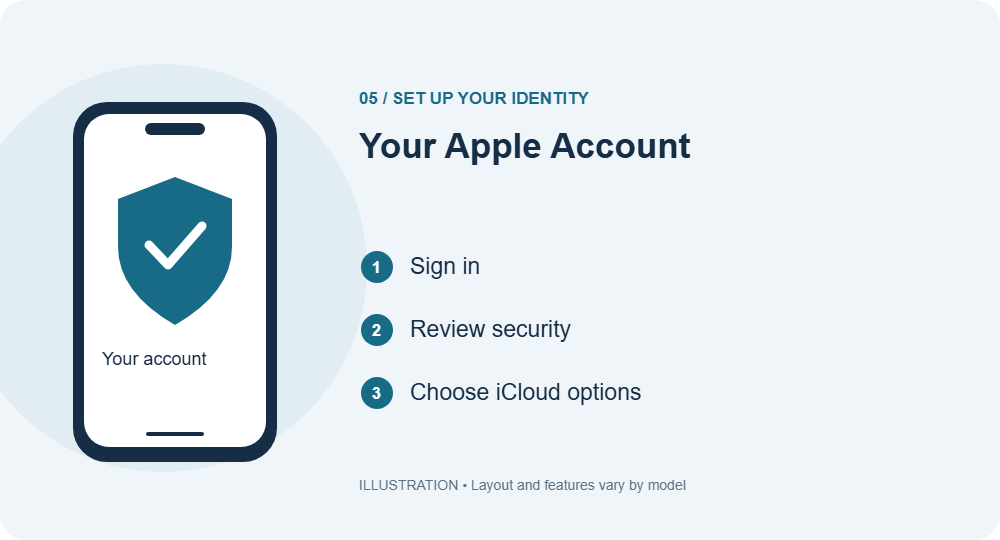
Your Apple Account connects your iPhone to services such as iCloud, the App Store, and Find My. It also helps your information stay available across your Apple devices when the relevant syncing options are enabled. Using your own account makes it easier to manage purchases, subscriptions, and account recovery.
- Open Settings and sign in using the account option at the top.
- Review your trusted phone numbers and account security settings.
- Open iCloud and choose which available apps and data you want to sync.
Keep your recovery details current and use a unique password. Family members should generally use individual accounts with Family Sharing. Remember that syncing and backup serve different purposes: check your backup settings separately rather than assuming every item is protected automatically.
Apple’s Your Apple Account instructions
6. Using Face ID: Personal Security
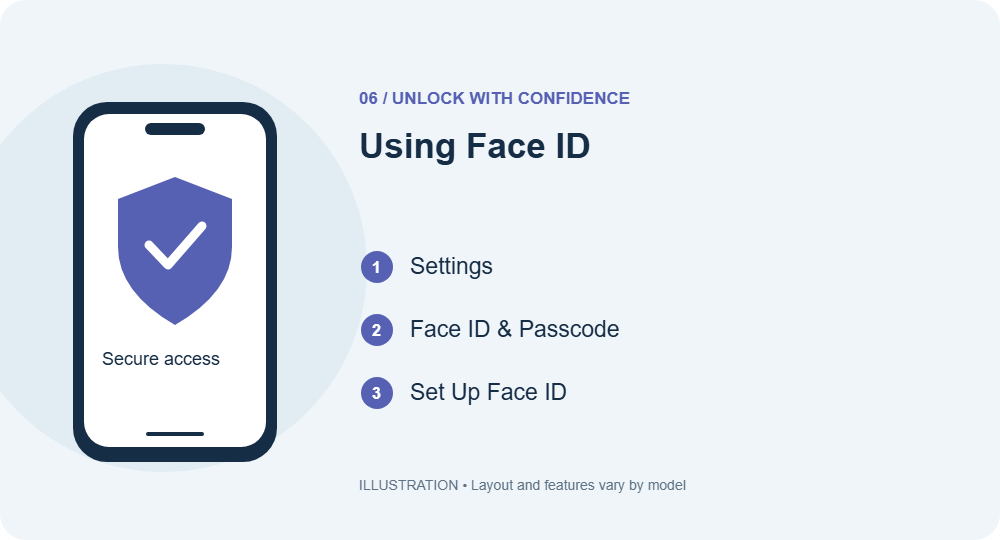
On compatible iPhones, Face ID lets you unlock the device and approve supported actions by looking at the screen. It works alongside your passcode, which remains necessary in situations such as restarting the phone. A strong passcode is therefore just as important as convenient biometric access.
- Open Settings → Face ID & Passcode and enter your passcode.
- Choose Set Up Face ID and follow the scanning instructions.
- Review the available switches for unlocking, purchases, password access, and supported apps.
Keep the camera area clear. If your iPhone uses Touch ID, set up your fingerprint under Touch ID & Passcode instead. iPhone Duo has Touch ID in the side button, so its authentication process differs from Face ID models.
Apple’s Using Face ID instructions
7. The Home Screen: Your Apple Gateway
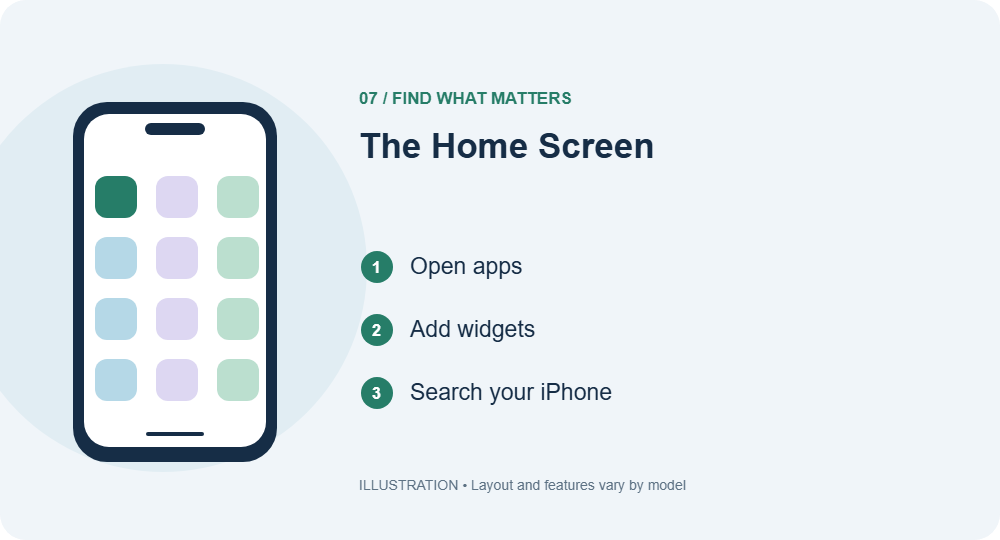
The Home Screen is your everyday starting point. It holds app icons, folders, and widgets that can show useful information at a glance. A thoughtful arrangement saves time: keep the apps you open most often on an easy-to-reach page, and move occasional tools elsewhere.
- Touch and hold an empty area to enter editing mode.
- Drag apps and widgets into an arrangement that feels comfortable.
- Use the Home Screen search option, or swipe down on a conventional Home Screen, to find an app by name.
App Library provides another way to find installed apps. Removing an app from the Home Screen does not necessarily delete it. On iPhone Duo, Home Screen placement adapts to the larger display, so the arrangement may differ from other models.
Apple’s The Home Screen instructions
8. Home Screen Folders: Organisation and Storage Explained
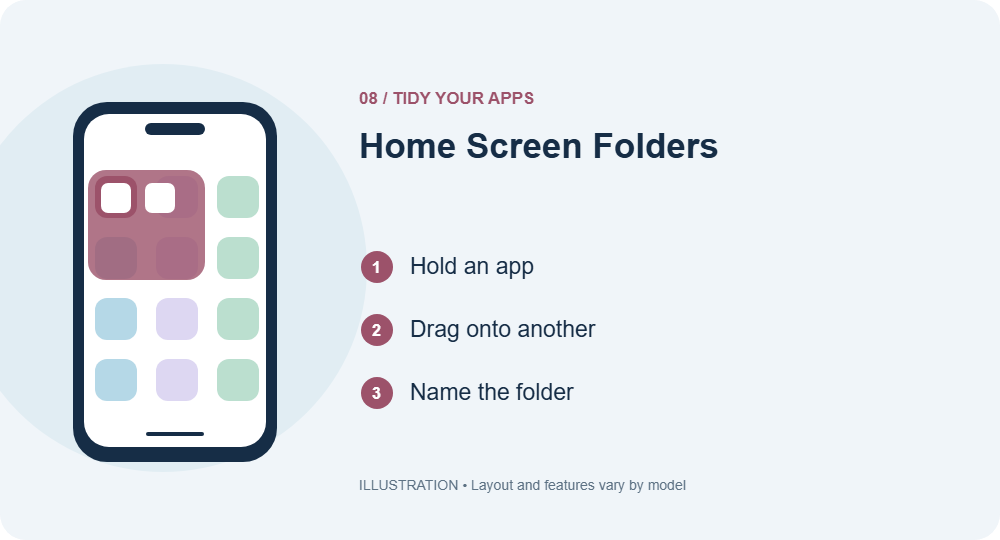
Folders group related apps so your Home Screen is easier to scan. You might create folders for travel, work, shopping, or entertainment. They are an organisational tool: putting apps into a folder does not reduce the storage those apps or their data use.
- Touch and hold the Home Screen until the icons begin to jiggle.
- Drag one app onto another to create a folder.
- Rename the folder, add related apps, and finish editing.
To remove a folder, move its apps back onto the Home Screen; an empty folder disappears. For actual storage management, open Settings → General → iPhone Storage. Review large apps and downloaded content there. Home Screen folders and folders in the Files app serve different purposes.
Apple’s Home Screen Folders instructions
9. iOS 27 iPhone Guide: Lock Screen Customization
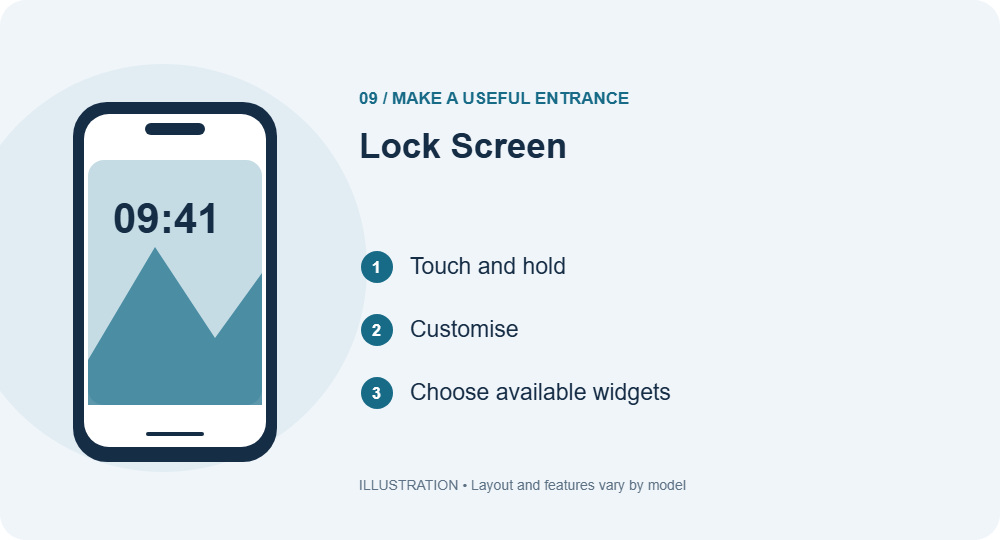
The Lock Screen can show your personality while keeping useful information close. A favourite photo, a readable clock, and a small selection of widgets can make it both attractive and practical. Available controls and visual effects depend on your iPhone and its software.
- Wake your iPhone and authenticate, then touch and hold the Lock Screen.
- Choose Customise to edit a screen, or add a new Lock Screen.
- Adjust the available wallpaper, clock, widgets, and controls, then save.
Check what information is visible while the phone is locked, especially calendar details and notification previews. You can also link a Lock Screen to a Focus, helping your phone switch between a quieter work setup and a more personal evening arrangement.
Apple’s Lock Screen instructions
10. iOS 27 iPhone Guide: Getting Online
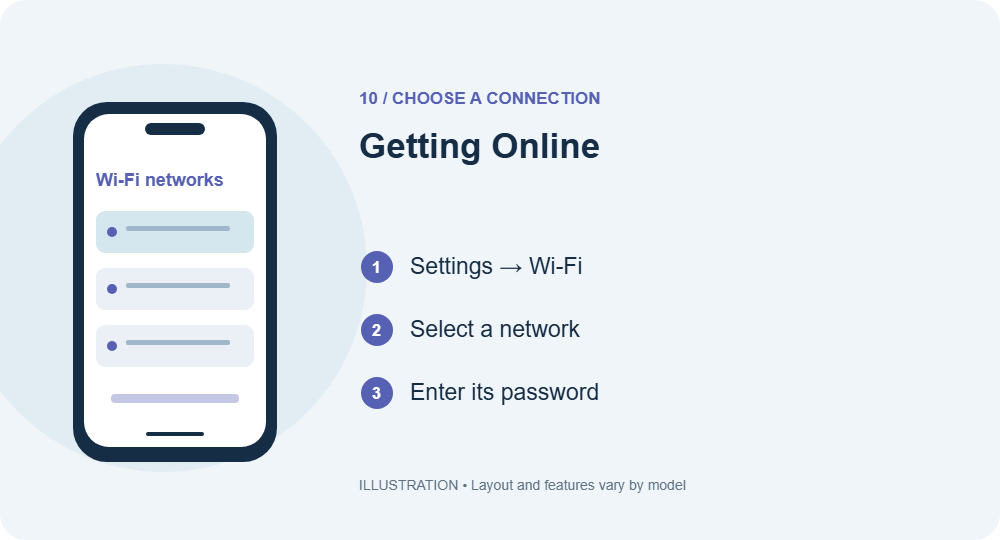
Your iPhone can connect to the internet through Wi-Fi or mobile data. Wi-Fi is useful at home and in places with a trusted network; mobile data keeps supported services available away from Wi-Fi when your plan and coverage allow it. A signal icon alone does not always mean the internet is working.
- Open Settings → Wi-Fi and turn Wi-Fi on.
- Select the intended network and enter its password if requested.
- For mobile access, review Settings → Cellular or Mobile Service and your active plan.
Some public networks require an additional sign-in page. If a connection fails, check the network and your service before changing unrelated settings. When travelling, review roaming options and charges with your carrier. Network names and menu labels can vary by region.
Apple’s Getting Online instructions
11. Email Set-Up: Adding Your Accounts

Apple Mail can bring multiple email accounts into one app. Connecting an existing address does not mean creating a new mailbox: you are authorising your iPhone to access the account you already use. Have your email address, password, and any required verification method ready.
- Open Settings → Apps → Mail → Mail Accounts.
- Tap Add Account, enter your address, and follow the provider’s sign-in instructions.
- Save the account and open Mail to confirm messages appear.
For a less common provider, you may need incoming and outgoing server settings supplied by that provider. Send a test email and reply to it to check both directions. If your account appears but messages arrive slowly, review its available push or fetch settings.
Apple’s Email Set-Up instructions · Apple: Add an email account
12. Phone Calls: Reach Out to the World

The Phone app lets you call saved contacts, return recent calls, and dial numbers directly. Saving the people you call often reduces typing and makes incoming calls easier to recognise. Available services, including voicemail and Wi-Fi Calling, depend on your carrier and plan.
- Open Phone and select a contact, a recent call, or the keypad.
- Check the number and selected line if you use more than one.
- Start the call, then use the on-screen mute, speaker, and keypad controls as needed.
If a call will not connect, check signal strength, Airplane Mode, and your service plan. Wi-Fi Calling can help in some coverage situations when supported and enabled. International calls may incur charges even when the person you call uses an iPhone.
Apple’s Phone Calls instructions
13. The Keyboard: Interact with All Your Apps
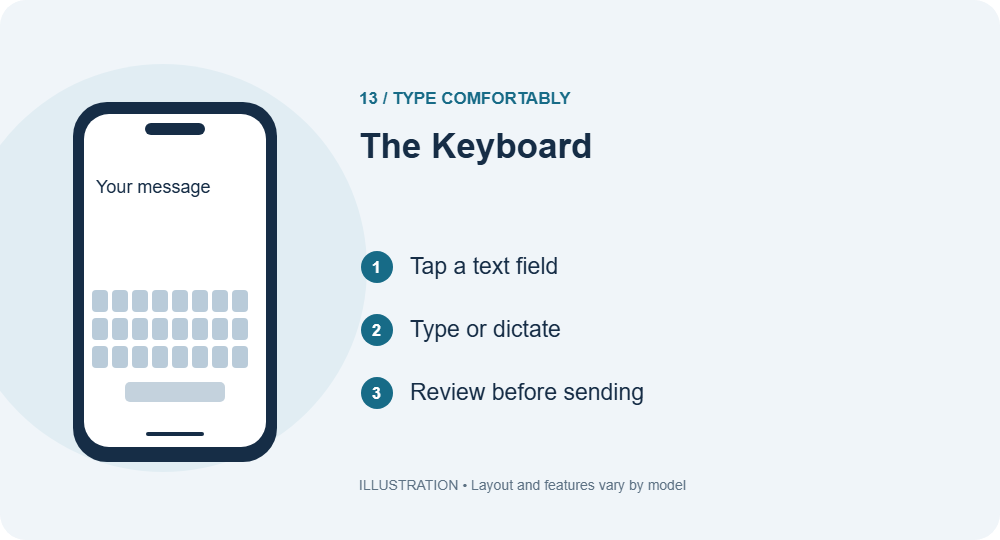
The onscreen keyboard appears when you tap a text field. You can enter text letter by letter, use available predictive suggestions, or dictate when supported. QuickPath lets you slide between letters in supported languages, making one-handed typing easier for some people.
- Open Notes and tap inside a new note to practise.
- Try typing a sentence, adding punctuation, and selecting an emoji.
- Open Settings → General → Keyboard to review languages and typing options.
Touch and hold the space bar to move the insertion point more precisely on supported layouts. Always review names, addresses, and numbers before sending. Autocorrect can be helpful, but its suggestions may change the meaning of a message. Additional keyboards and accessibility options can make longer writing sessions more comfortable.
Apple’s The Keyboard instructions
14. iOS 27 iPhone Guide: Control Centre

Control Centre gives you quick access to common settings such as brightness, volume, connectivity, and Focus. Many controls reveal additional options when you touch and hold them. Customizing this area can save repeated trips into Settings.
- On Face ID models and iPhone Duo, swipe down from the top-right corner; on iPhone SE, swipe up from the bottom.
- Touch and hold a control to explore its options.
- Use the add control option to arrange the features you use most.
Tapping Wi-Fi or Bluetooth in Control Centre can disconnect connections without fully disabling those radios. To switch either off completely, use Settings. Keep the layout simple enough that you can find essential controls quickly, particularly brightness, volume, and the torch.
Apple’s Control Centre instructions
15. Notifications: All Your Updates in One Place

Notifications bring messages, reminders, and app updates to your attention. When too many apps compete for attention, useful alerts become harder to notice. Start by deciding which apps deserve immediate interruptions and which can wait until you open them.
- Open Settings → Notifications and select an app.
- Review its available alert locations, sounds, badges, and preview options.
- Use a Focus when you want to limit interruptions for a particular activity.
Notification previews can reveal private information on a locked phone. Review that setting if you share a workspace or leave your device on a desk. Clearing an alert normally removes the notification rather than the underlying message, so check the relevant app if you need to find the original content.
Apple’s Notifications instructions
16. App Store: Explore a Galaxy of Apps
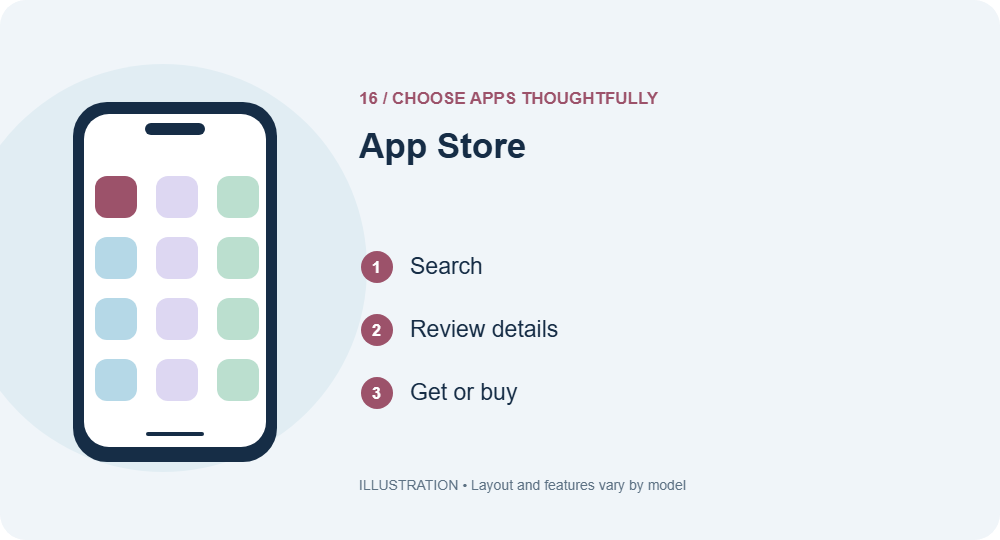
The App Store helps you discover tools for work, learning, creativity, and entertainment. Before downloading, check the developer, compatibility information, age rating, and privacy details. Reviews can offer context, but an app’s suitability also depends on what you need it to do.
- Open App Store and search for an app or task.
- Read the app page, including purchase and subscription information.
- Tap Get or the displayed price, then authenticate if requested.
A free download may still include paid features or a subscription. Check the terms of any trial before starting it. If a download stalls, review your internet connection, available storage, and account status. Availability can vary by country or region, so another person’s app list may differ from yours.
Apple’s App Store instructions
17. AirDrop and Bluetooth: Sharing Files and Connecting Devices
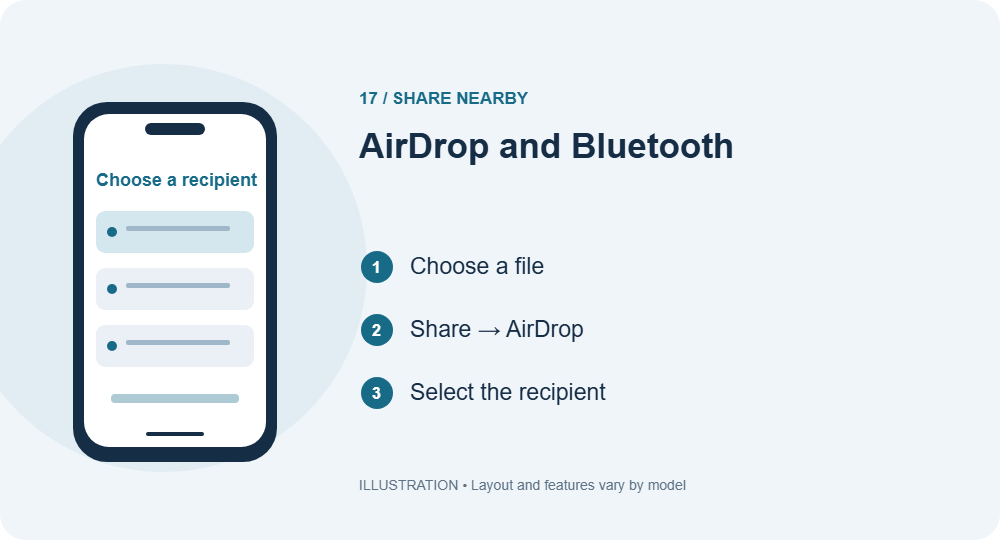
AirDrop sends items such as photos and documents to nearby supported Apple devices. It uses Wi-Fi and Bluetooth together, so both need to be enabled for discovery and transfer setup. Bluetooth also connects accessories such as headphones and speakers, but pairing an accessory is a different task from sending a file.
- Open the item and choose Share → AirDrop.
- Select the intended recipient and ask them to accept if prompted.
- For an accessory, put it in pairing mode and open Settings → Bluetooth.
If AirDrop cannot find someone, check their receiving settings, proximity, and Personal Hotspot status. Use a limited receiving option when appropriate. iPhone does not provide a general Bluetooth file browser for exchanging arbitrary files with every nearby phone or computer.
Apple’s AirDrop and Bluetooth instructions · Apple: How to use AirDrop
18. Update Apps and iOS: Keep Your iPhone Running Well
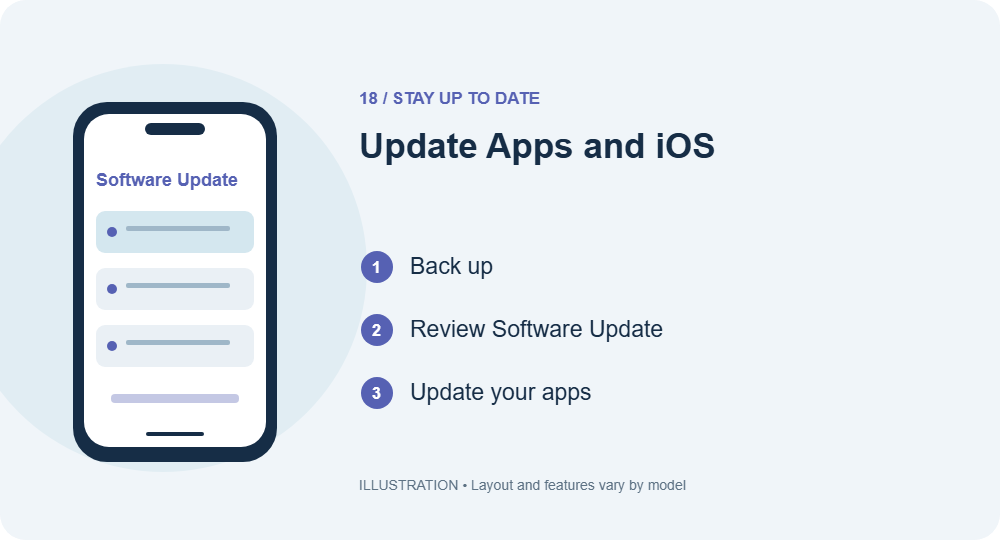
Software updates can deliver security fixes, bug fixes, and new features. Updating apps is separate from updating iOS, so check both. Before a major system update, confirm you have a recent backup and enough free storage, and allow time for the phone to restart.
- Open Settings → General → Software Update.
- Review the offered update and installation instructions.
- Open your App Store account area and review available app updates.
Automatic update options can reduce the amount of manual checking you need. Keep the iPhone connected to a suitable power source and network as directed during installation. If an app is still misbehaving afterward, check its support information; updating does not guarantee that every compatibility or account problem will disappear.
Apple’s Update Apps and iOS instructions
19. iOS 27 iPhone Guide: Child Safety
An iPhone for a child needs a setup that matches their age and your family’s expectations. Family Sharing and Screen Time can help manage purchases, app use, communication, and content. Settings are most useful when accompanied by regular conversations about what your child sees and does online.
- Use an appropriate child account within your Family Sharing setup.
- Open Screen Time for your child and review downtime, app limits, and communication options.
- Review Content & Privacy Restrictions and purchase approval settings.
Use a separate Screen Time passcode and revisit the settings as your child grows. Communication Safety and web restrictions can add useful protection, but no filter catches everything. Available defaults and features depend on the child’s age, country or region, and software version.
Apple’s Child Safety instructions · Apple: Parental controls
20. Find My App: Lost Your Device? Start Here
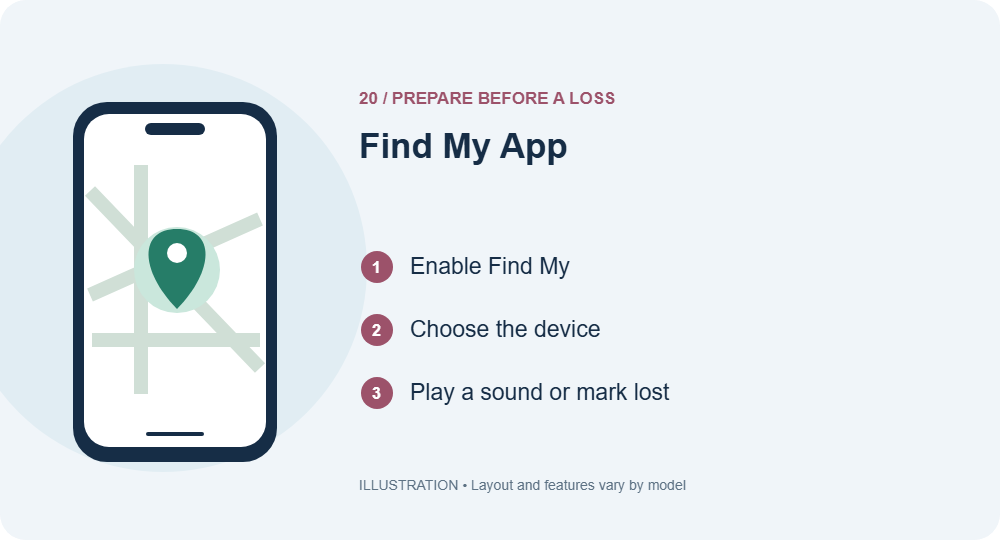
Find My is most useful when you enable it before your iPhone goes missing. It can help you view an available device location and play a sound on a reachable device. Location availability depends on the device, its settings, and whether it can be located.
- Review Settings → your name → Find My → Find My iPhone.
- If the device is missing, open Find My on another appropriate Apple device or use Find Devices on iCloud.com.
- Select the device and review options such as Play Sound and Mark as Lost.
Check the location timestamp rather than assuming every map pin is live. Avoid removing a missing device from your Apple Account without understanding the consequences for Activation Lock. If you suspect theft, seek local assistance rather than confronting someone yourself.
Apple’s Find My App instructions
21. Set Your Wallpaper and Ringtones

Wallpaper changes the feel of your iPhone every time you pick it up, while a distinctive ringtone helps you recognise incoming calls. A simple background can make text and icons easier to read. You can choose different appearances for your Lock Screen and Home Screen.
- Open Settings → Wallpaper and choose an available wallpaper option.
- Preview the background with the clock and icons before saving it.
- Open Settings → Sounds & Haptics → Ringtone to select an available tone.
You can also assign a ringtone to an individual contact where supported. Check ringtone volume and Silent Mode if calls are not making the sound you expect. A lively wallpaper is appealing, but legibility matters more when you need to glance at a notification quickly.
Apple’s Set Your Wallpaper and Ringtones instructions · Apple: Change sounds and vibrations
22. Mail App: Your Emails in One Convenient Place
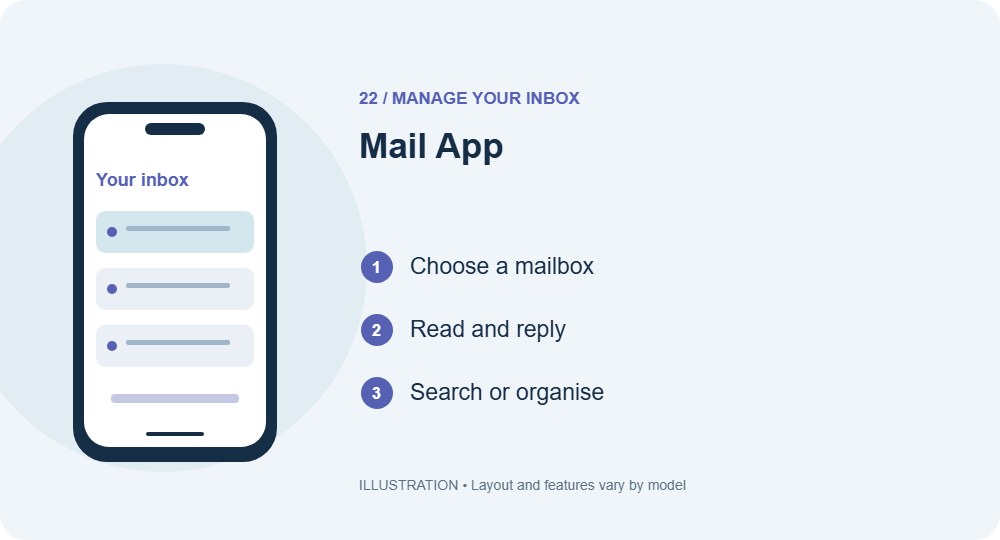
Once your accounts are connected, Mail becomes a central place to read and manage email. You can view messages from different accounts, search for older correspondence, and organise messages into mailboxes. A small amount of regular inbox maintenance makes important messages easier to find.
- Open Mail and choose a mailbox or an available combined inbox.
- Tap a message to read it, then reply or compose a new email.
- Search by sender or keyword, and move important messages into suitable folders.
Check the From address before sending when you use multiple accounts. Mail can provide privacy features, but no inbox is automatically free of scams. Inspect unexpected links and attachments carefully, and confirm sensitive requests through a trusted channel before acting on them.
23. Using Undo Send: Stop an Email Quickly
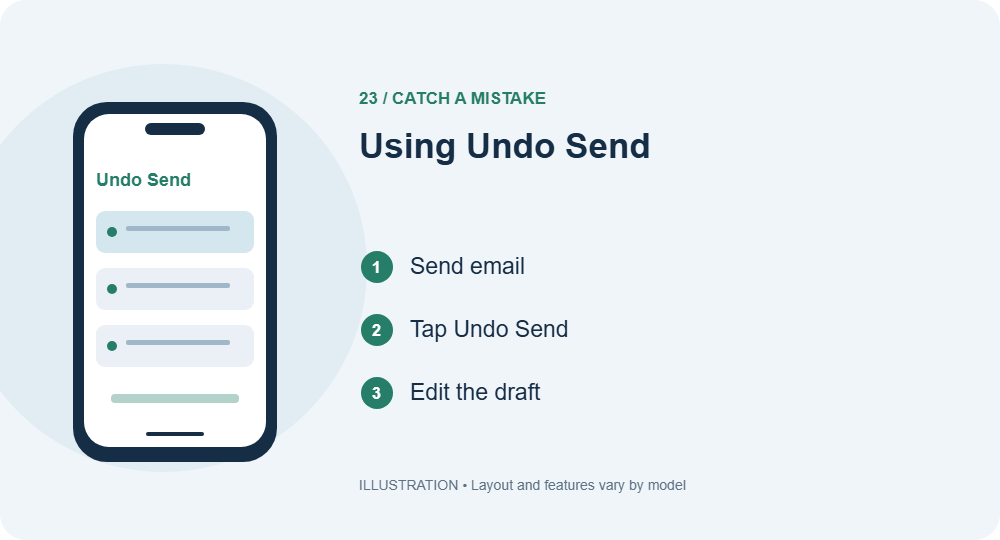
Forgotten an attachment or noticed the wrong recipient? Mail’s Undo Send gives you a brief chance to stop an outgoing email. It works by allowing a short sending delay, so it should not be treated as a way to retrieve a message that has already reached someone’s inbox.
- After sending, look for Undo Send in Mail immediately.
- Tap it while the option is available, then correct the draft.
- Review Settings → Apps → Mail → Undo Send Delay to choose an available delay.
Apple documents a default ten-second window. Choosing a longer available delay gives you more time to spot mistakes. Messages has its own unsending feature with different rules; changing Mail’s delay does not change how text messages work.
Apple’s Using Undo Send instructions
24. Safari App: Your iPhone’s Online Entry Point
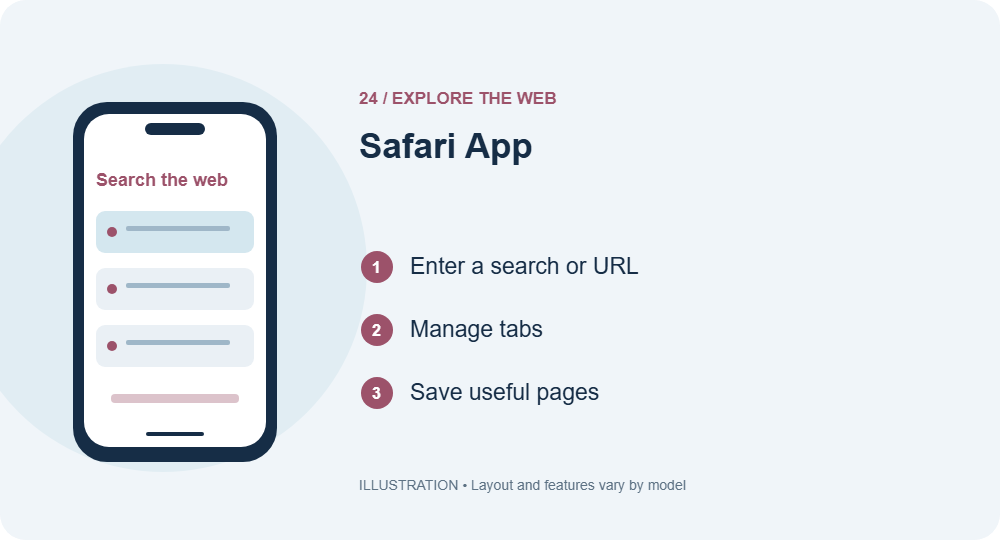
Safari combines web search and website access in one browser. Enter a topic to search, or type a complete web address to visit a known site. Tabs let you keep several pages available without repeatedly searching for them.
- Open Safari and tap the address or search field.
- Enter your query or website address and go to the result.
- Use the tab controls to switch pages, and save useful pages as bookmarks or to Reading List.
The position of browser controls can vary with the selected layout. Private Browsing helps keep browsing separate from your normal history on the device, but it does not make you anonymous to websites or your network. Before signing in, check that the address belongs to the service you intended to visit.
Apple’s Safari App instructions
25. Messages App: Can’t Call? Text Instead

Messages lets you send text and share content without making a call. Depending on the recipient, settings, carrier, and connection, conversations may use iMessage, RCS, SMS, or MMS. Available features and charges can differ between these services.
- Open Messages and start a new conversation.
- Enter a contact or number, then write your message.
- Check the recipient and attachments before tapping Send.
Blue bubbles indicate iMessage; green bubbles can indicate RCS or SMS/MMS, so colour alone does not describe every capability. Use conversation details to manage available alerts and sharing options. If a message fails, check connectivity and the recipient’s address or number before repeatedly sending duplicates.
Apple’s Messages App instructions
26. Voice and Video Messages: Say It in Style

A voice message can communicate tone more naturally than a hurried sentence. A short video can show someone exactly what you mean, from a birthday greeting to a quick demonstration. Messages provides ways to add audio and recorded video to supported conversations.
- Open a conversation and explore the plus menu for Audio or Camera.
- Record your audio message, or capture a short video.
- Review the recording and send it to the intended person.
Check audio-message retention options and use Keep where available if you want to save an important recording. Video can consume more data and storage than text, so keep clips focused. Playback and delivery features depend on the messaging service and the recipient’s device.
Apple’s Voice and Video Messages instructions
27. Recovering Deleted Messages: Get It Back
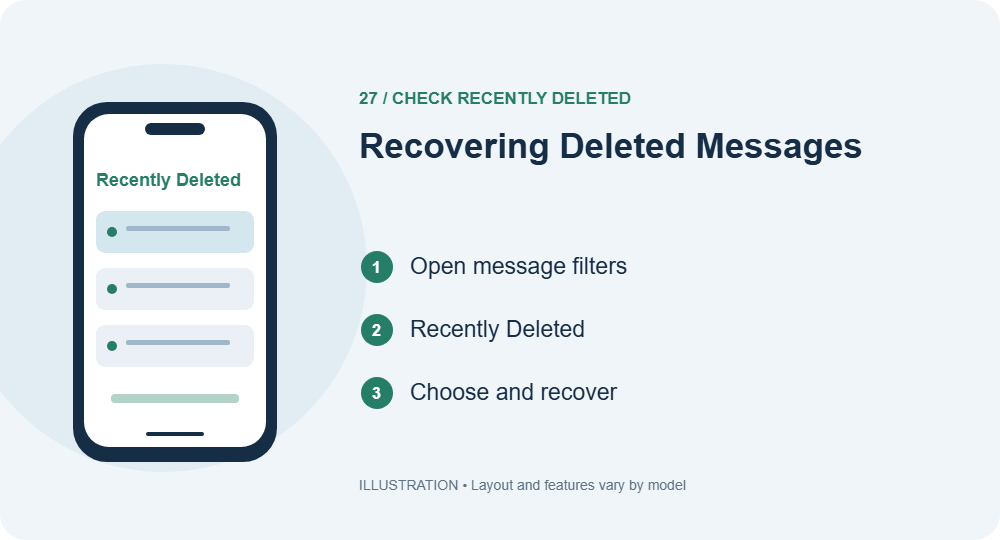
Deleting a conversation does not always mean it is immediately beyond recovery. Supported versions of Messages include Recently Deleted, where eligible deleted conversations remain for a limited period. Looking there promptly gives you the best chance of restoring something removed by mistake.
- Open Messages and find Recently Deleted through the available Filters or Edit menu.
- Select the conversations you want to restore.
- Choose Recover and confirm the action.
Apple describes recovery for messages deleted within the last 30 to 40 days, subject to eligibility. Permanently deleted items may not be recoverable. When Messages in iCloud is enabled, deletions can sync across your devices, so checking another synced iPhone or iPad is not the same as having an independent backup.
Apple’s Recovering Deleted Messages instructions · Apple: Recover deleted messages
28. FaceTime App: Video Chat Explained
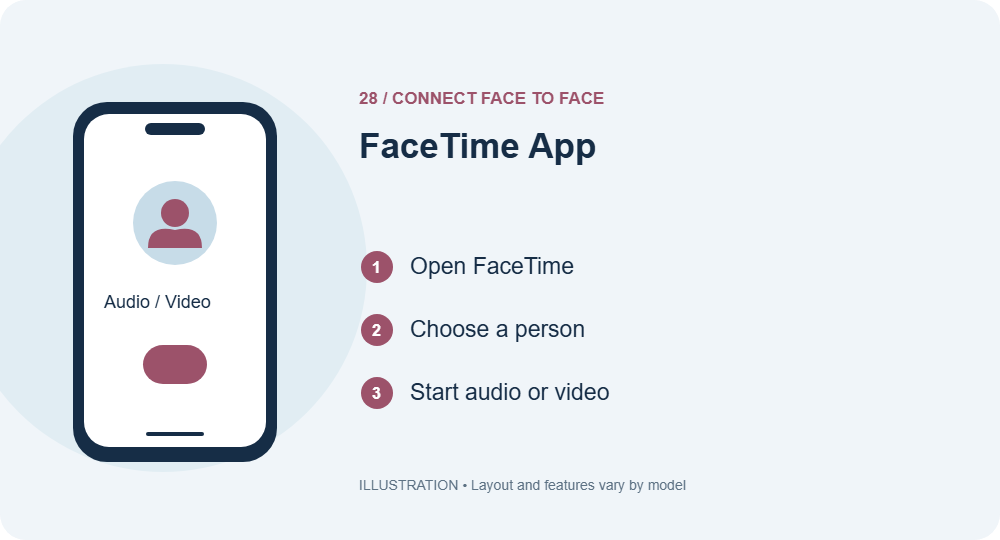
FaceTime offers audio and video conversations over an internet connection. It is useful for catching up with family, talking through a problem, or sharing a moment when you cannot meet in person. Both connection quality and local service availability affect the experience.
- Open FaceTime and sign in if prompted.
- Start a new call and choose the intended contact or address.
- Select audio or video, then use mute and camera controls during the call.
You can explore supported sharing features once you are comfortable with basic calling. Check your background and microphone before an important conversation. FaceTime availability varies by country, region, and device circumstances; do not assume a feature is available simply because another iPhone owner can use it.
Apple’s FaceTime App instructions
29. Reminders App: Don’t Forget Anything
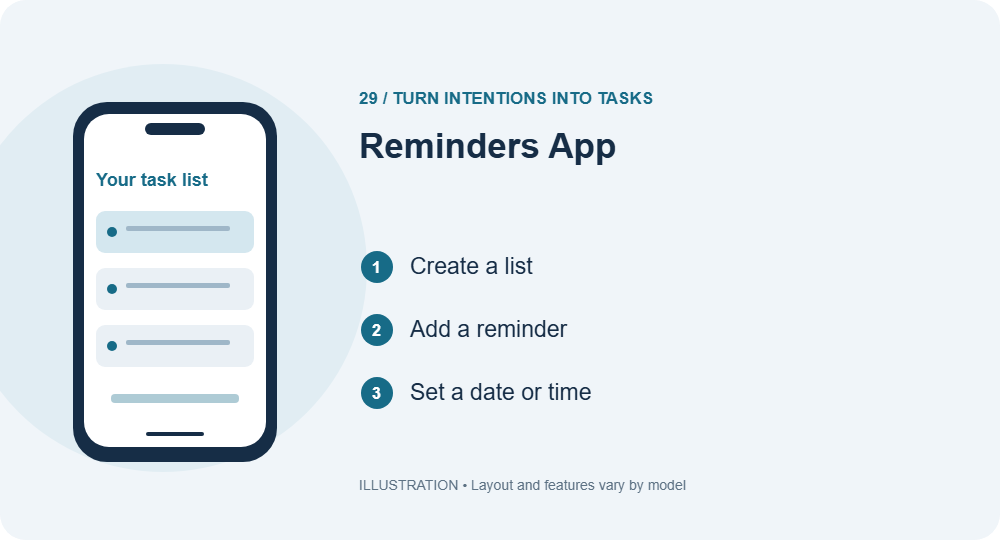
Reminders is designed for things you need to do. Separate lists for home, work, and shopping make tasks easier to manage, while dates and times bring important items back to your attention. A useful reminder describes a specific action rather than a vague subject.
- Open Reminders and choose or create a list.
- Add a task such as “Send the signed form”.
- Set an appropriate date, time, or other available detail, then mark it complete when finished.
Shared lists can help a household coordinate everyday jobs. Check notification permissions if scheduled reminders are not appearing. Avoid adding so many alerts that they become background noise: a small, realistic daily list is easier to follow than a long collection of overdue tasks.
Apple’s Reminders App instructions
30. Notes App: Type, Write, Sketch, and Remember
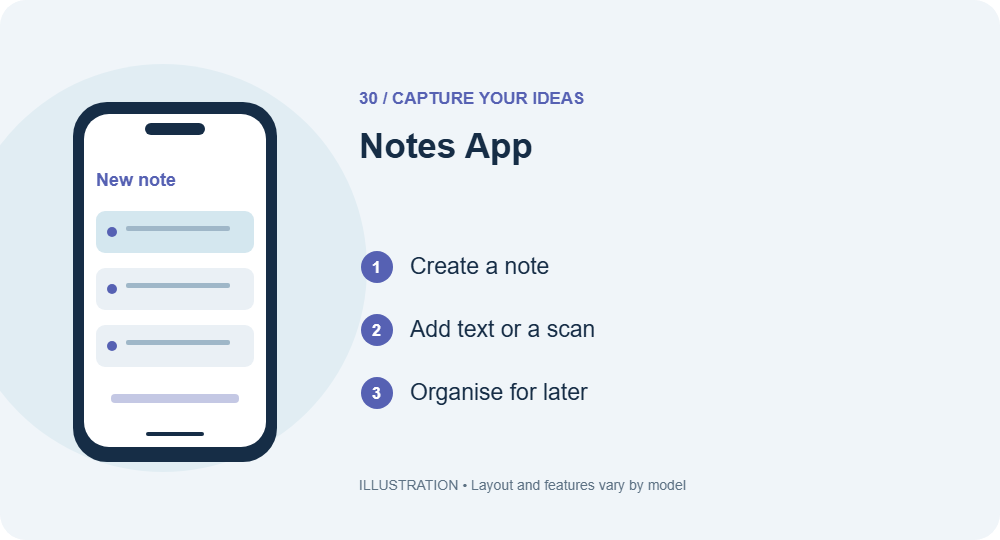
Notes is a flexible place for ideas, checklists, meeting points, sketches, and scanned documents. A clear title and a few folders make notes easier to retrieve later. You can keep a note simple or combine different types of content when your account supports them.
- Open Notes and create a new note.
- Type a heading, then add text, a checklist, a drawing, or a document scan using the available tools.
- Choose an appropriate folder and review sharing or locking options if needed.
Features vary by the account storing the note. Check whether it is saved in iCloud, locally, or through another service before expecting it on a second device. For a shared note, review who can access it and whether they have permission to make changes.
Apple’s Notes App instructions
31. Calendar App: Don’t Miss an Important Date

Calendar is the right place for appointments and events that occupy a particular time. Unlike a general task list, it helps you see how your day is scheduled. Adding the correct location, time zone, and alert can prevent an otherwise avoidable missed meeting.
- Open Calendar and use the add event control.
- Enter a clear title, start and end times, and the appropriate calendar.
- Add an alert, location, repeat pattern, or invitees where supported, then save.
When using multiple accounts, check which calendar receives the event. A work meeting saved to a personal calendar may not appear where colleagues expect it. Review time zones carefully for travel and international calls, and distinguish an invitation from an event you have only saved for yourself.
Apple’s Calendar App instructions
32. Contacts App: Your Family and Friends Together
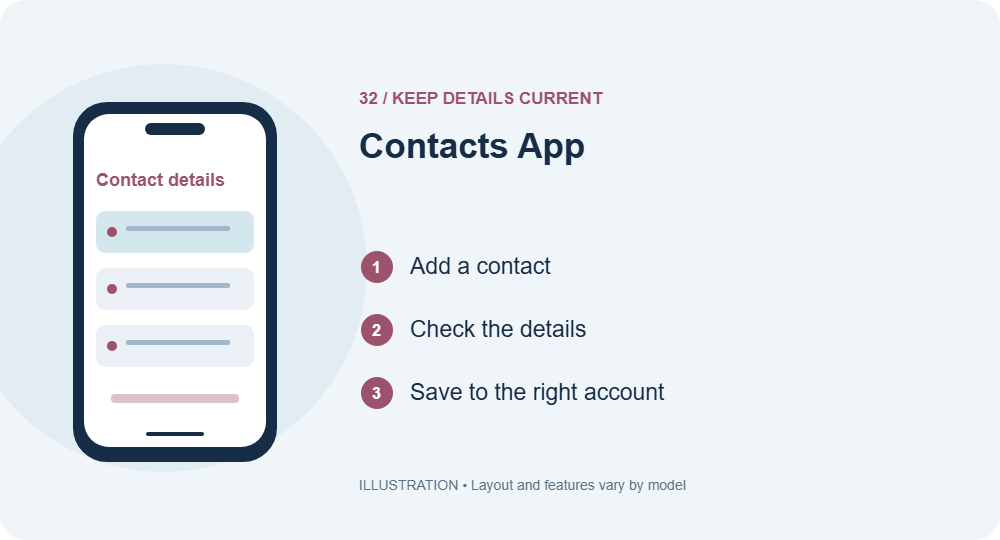
Contacts keeps names, phone numbers, email addresses, and other useful details together. Accurate contact cards make calling, messaging, and sharing much easier. They also reduce the risk of sending information to an outdated address or a number that belongs to someone else.
- Open Contacts and tap the add control.
- Enter the person’s name and current phone number or email address.
- Save the card and review the account used for contact syncing.
Add international dialling codes where useful and review duplicates before merging them. Check contact permissions for apps that request access to your address book. If you use several accounts, keep track of where contacts are stored so removing an account does not unexpectedly remove those cards from your iPhone.
Apple’s Contacts App instructions
Frequently asked questions
Is iOS 27 the same as iPhone 27?
No. iOS 27 is an operating system version. The name of your iPhone model is listed in Settings → General → About. Use the model name when checking hardware features.
Does iPhone Duo use Face ID?
Apple describes iPhone Duo as using Touch ID integrated into the side button. Follow the fingerprint setup instructions for that model.
Do Home Screen folders free up iPhone storage?
No. Folders organise app icons. Review Settings → General → iPhone Storage to manage the space used by apps, downloads, and other content.
Can Mail Undo Send recall any email?
No. It provides a short opportunity to stop a message during the sending delay. It is not a universal recall tool for email already delivered.
What should I set up first on a new iPhone?
Start with your Apple Account, a strong passcode, the available biometric unlock feature, a reliable connection, backup settings, and Find My. Then personalise your screens and add the apps you need.
Put your iPhone to work
Begin with one useful change today: set up Find My, simplify your Home Screen, or add a reminder for something you need to do. Once the basics feel familiar, explore the other sections of this iOS 27 iPhone guide at your own pace. Bookmark the guide so you can return when you need a particular setting.
Bookmark this iOS 27 iPhone guide so you can return whenever you need help with settings, security, or everyday apps.